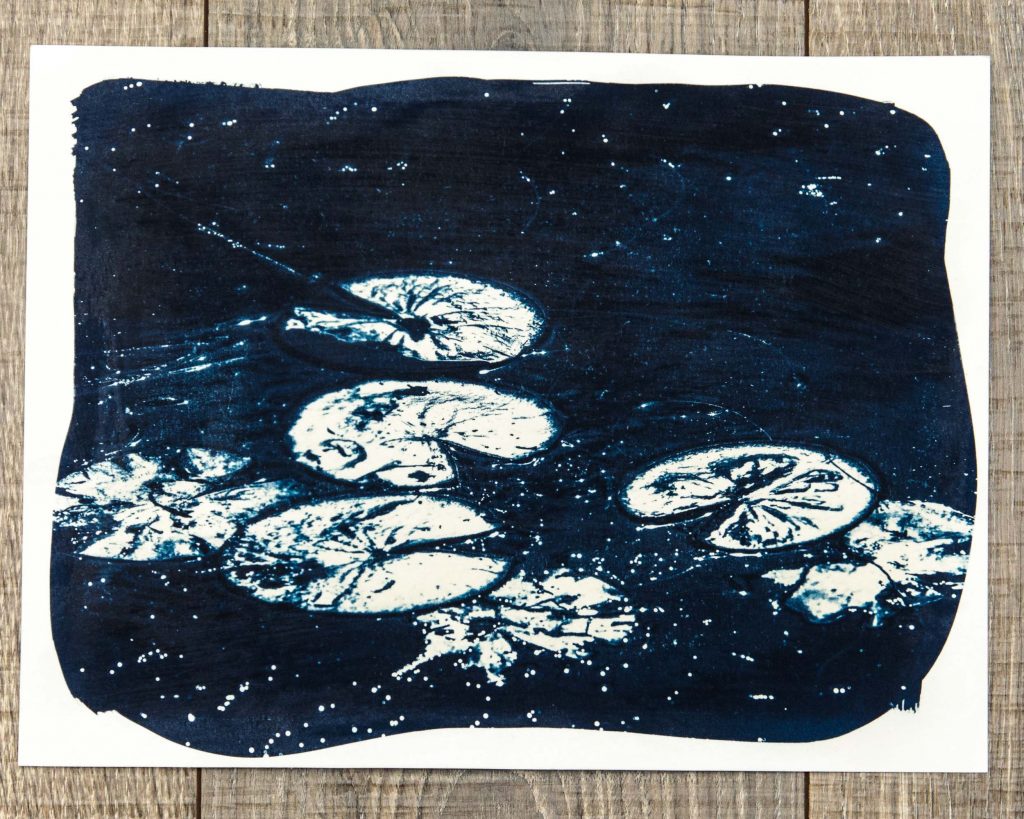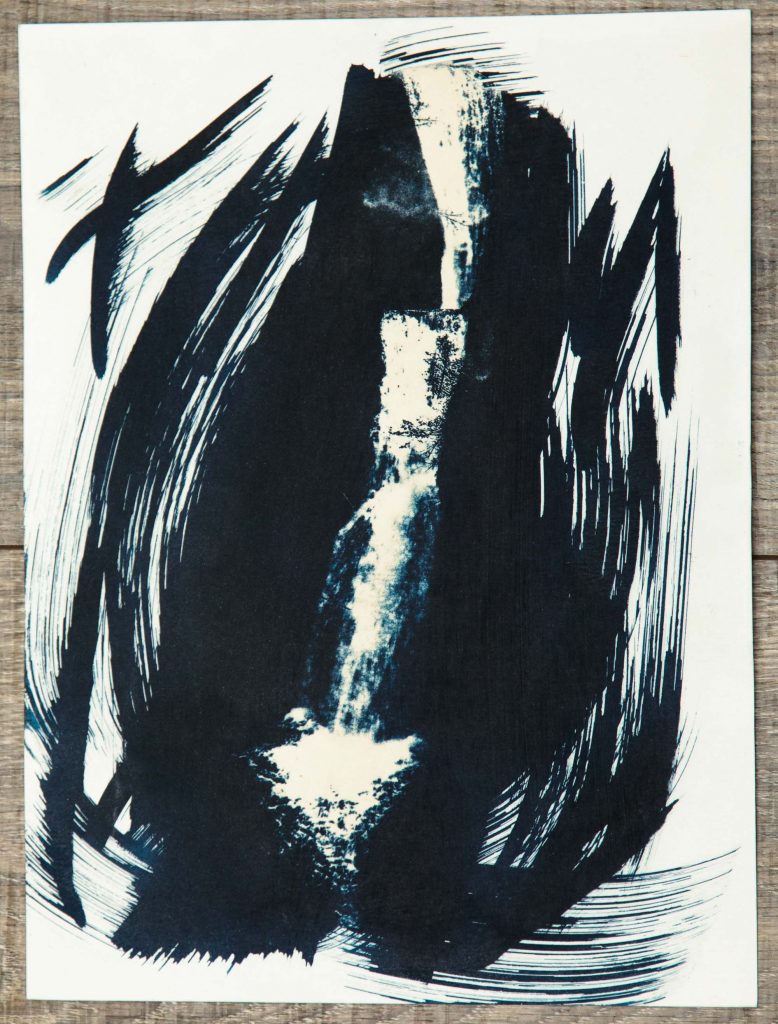
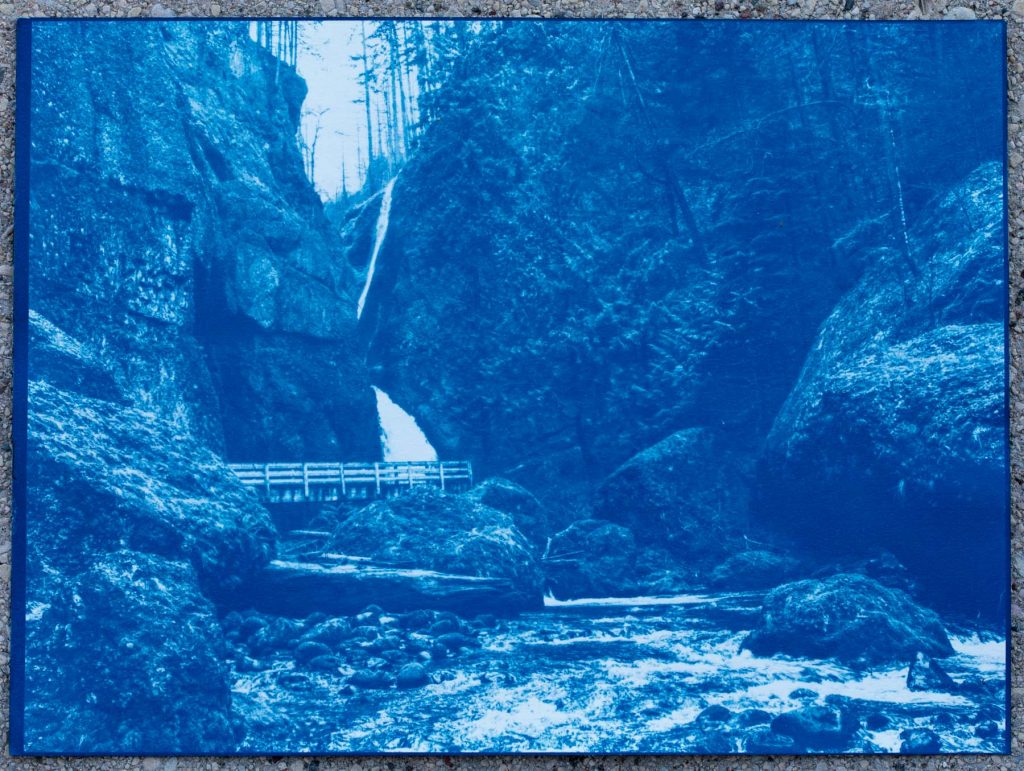
Wahclella Falls Cyanotype
I don't use cyanotype for landscapes that often. Nothing wrong with the result it is just I like gold salt prints a bit better. But sometimes cyanotype really works well for a photo. Here is a Wahclella Falls cyanotype that really captures the beauty of the falls. You might ask - where is the world is Wahclella Falls? Wahclella is one the dozens of waterfalls in the Columbia River gorge in Oregon. I think it is my favorite but it is not that well known. For starters it is a bit off the usual tourist path. Next, it is a…