Why does a wet plate cost so much? A question I sometimes get, although not too often. Part of the cost is the part my clients see – the actual image capture. But the session is actually the smallest part of making historic tintypes and Ambrotypes. So let’s go behind the scenes of wet plate collodion photography and see some of the work that goes into making your historic image.
Chemical Preparation
The foundation of the process is chemistry. Before anything else happens there are a bunch of chemicals that have to be purchased and mixed. Collodion has to be mixed with alcohol and ether and bromides to make the plate coating. Silver nitrate has to be mixed into a 7-8% solution for the silver bath. Silver nitrate is dangerous for your skin and eyes so a lot of protection has to be worn when handling silver baths. Developer has to be mixed along with the fixing solutions. I also mix up my own Sandarac varnish.
Aluminum and Glass Plates
I use mostly recycled & antique glass for my Ambrotypes. I have to search out old windows and other sources of glass. I then remove the glass, clean it and cut to size. The edges of the cut glass are sanded to remove sharp edges. Then the glass is cleaned again and coated with albumin (to help the collodion stick).
The generic name “tintype” comes from the past when actual tin sheets were used for plates. Now I actually use trophy grande anodized aluminum plates. The plated can come cut to the various sizes or I buy large sheets and cut them to size myself.
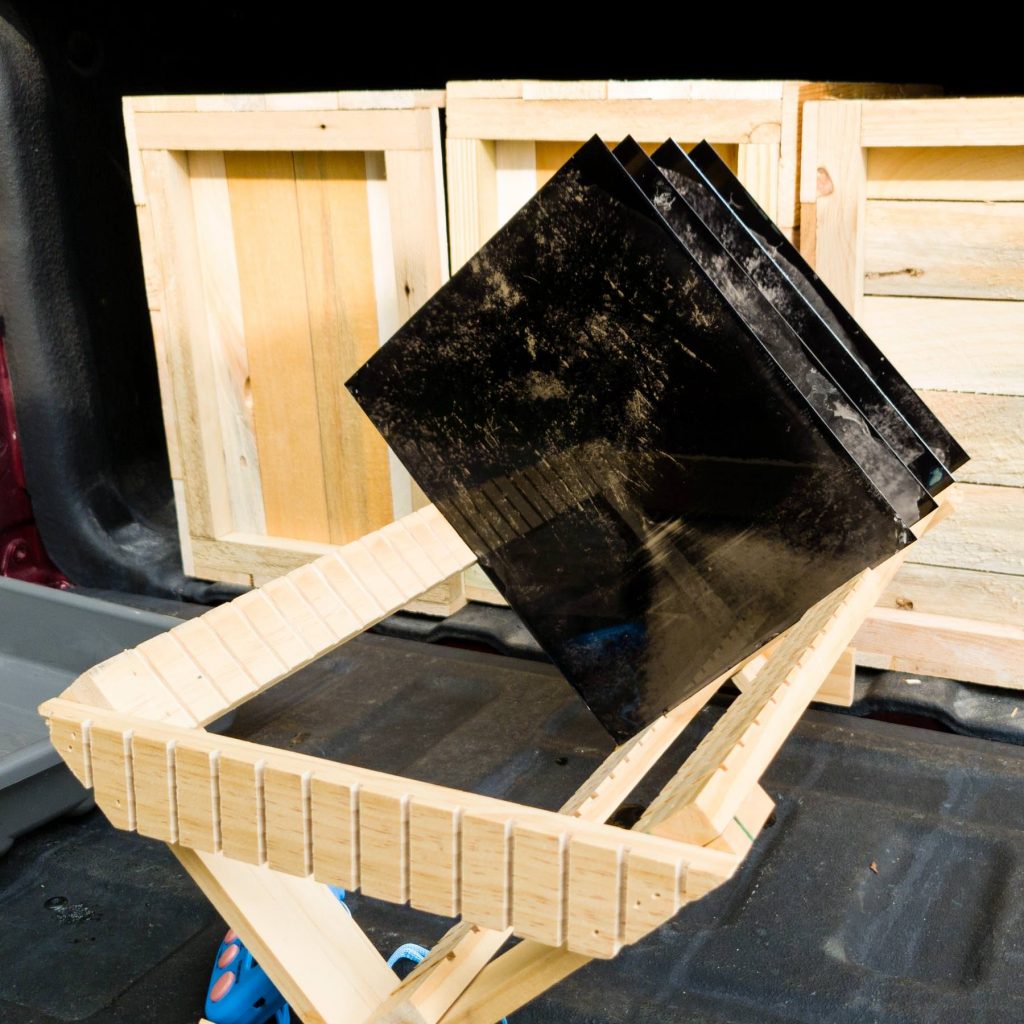
Plate Rinsing and Drying
After fixing the plate I need to do five steps of washing. The plates are washed with tap water four times followed by a final distilled water rinse. This step removes any trace of residual chemical that could cause problems 100 years in the future. The plates are then left to air dry on racks for at least 24 hours.
Varnishing & Coating
The final step in plate preservation is varnishing. I use the traditional Sandarac varnish which is a blend of frankincense and lavender oil. The plate is warmed up over an alcohol flames, varnish poured on the surface and drained. The plate is then reheated over the flame carefully (because the varnish is flammable) to set. The plate is then racked to air cure for at least 24 hours.
The varnishing step is really fun because of the wonderful smell of lavender oil with the spiciness of frankincense!
If your plate is an Ambrotype on clear glass I can also blacken the image to render it a positive. I love to use a sheet of black, or other color velvet. I might also coat the image with traditional asphaltum.
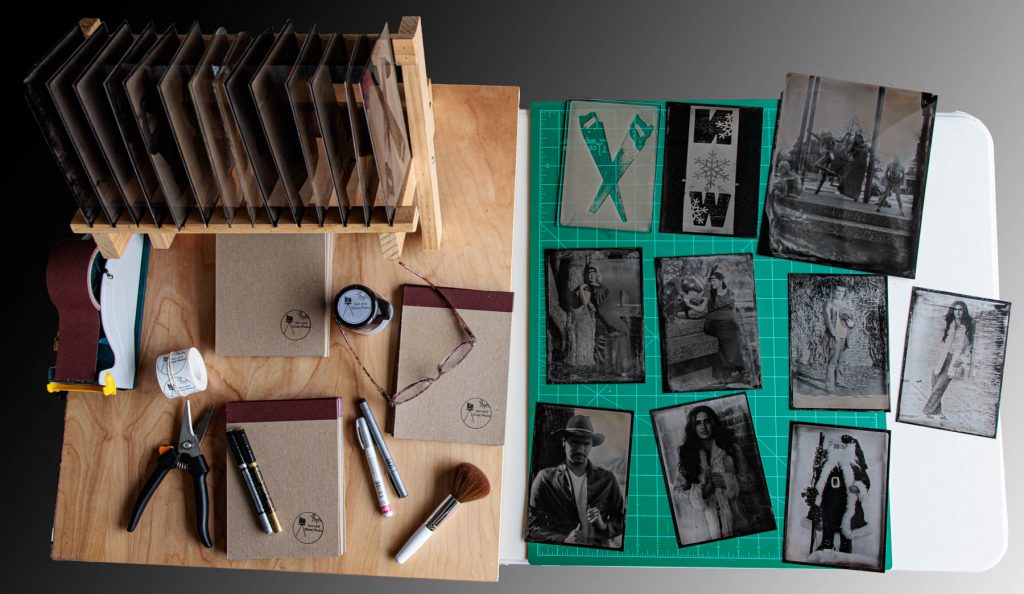
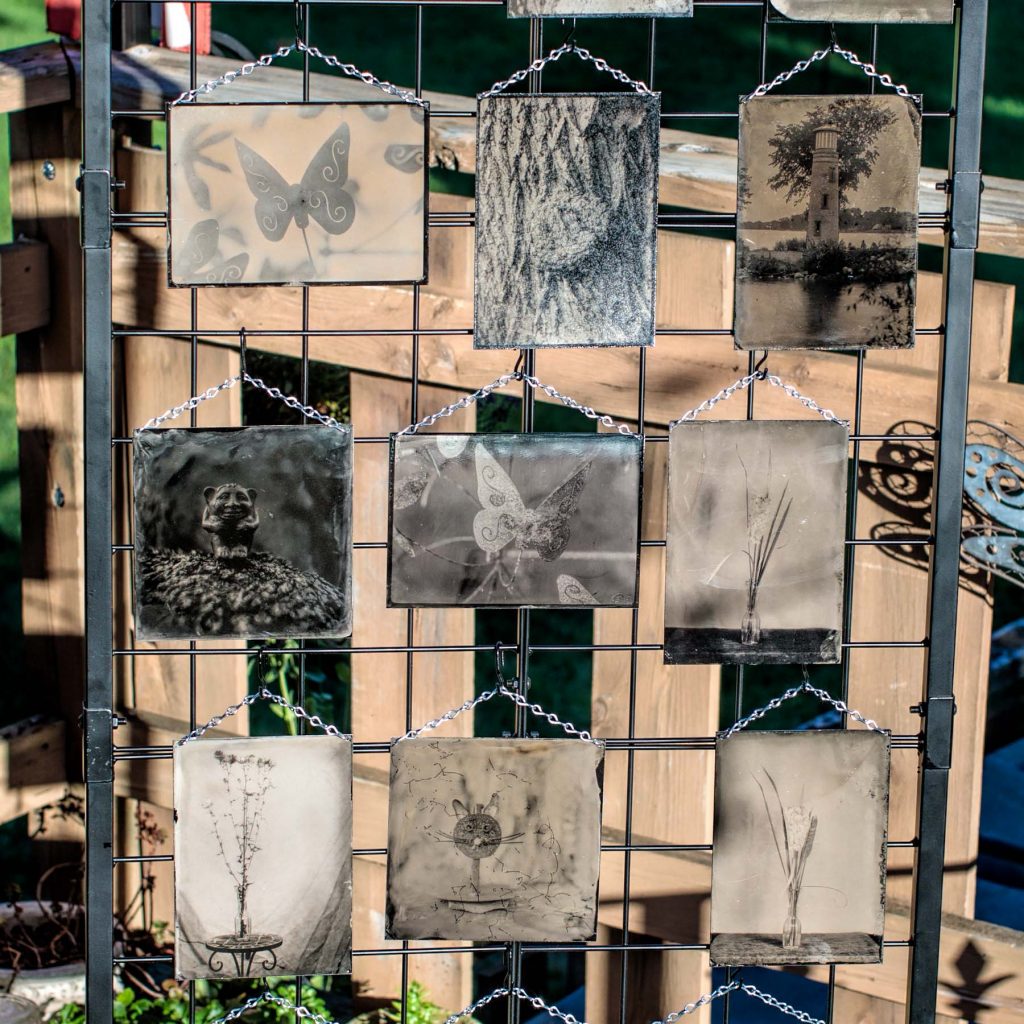
Mounting and Framing
Finally, I get the plate ready for delivery to you my client. Each plate is signed and a Certificate of Authenticity is also signed. I make my own sleeves to hold your plate. I can also frame the plate or add a chain mount or a magnetic mount if you like. Often I also package your plate for shipment and run to the UPS store or the USPS facility.
Now that you have seen behind the scenes of wet plate collodion photography you will never ask “why does a plate cost so much”?
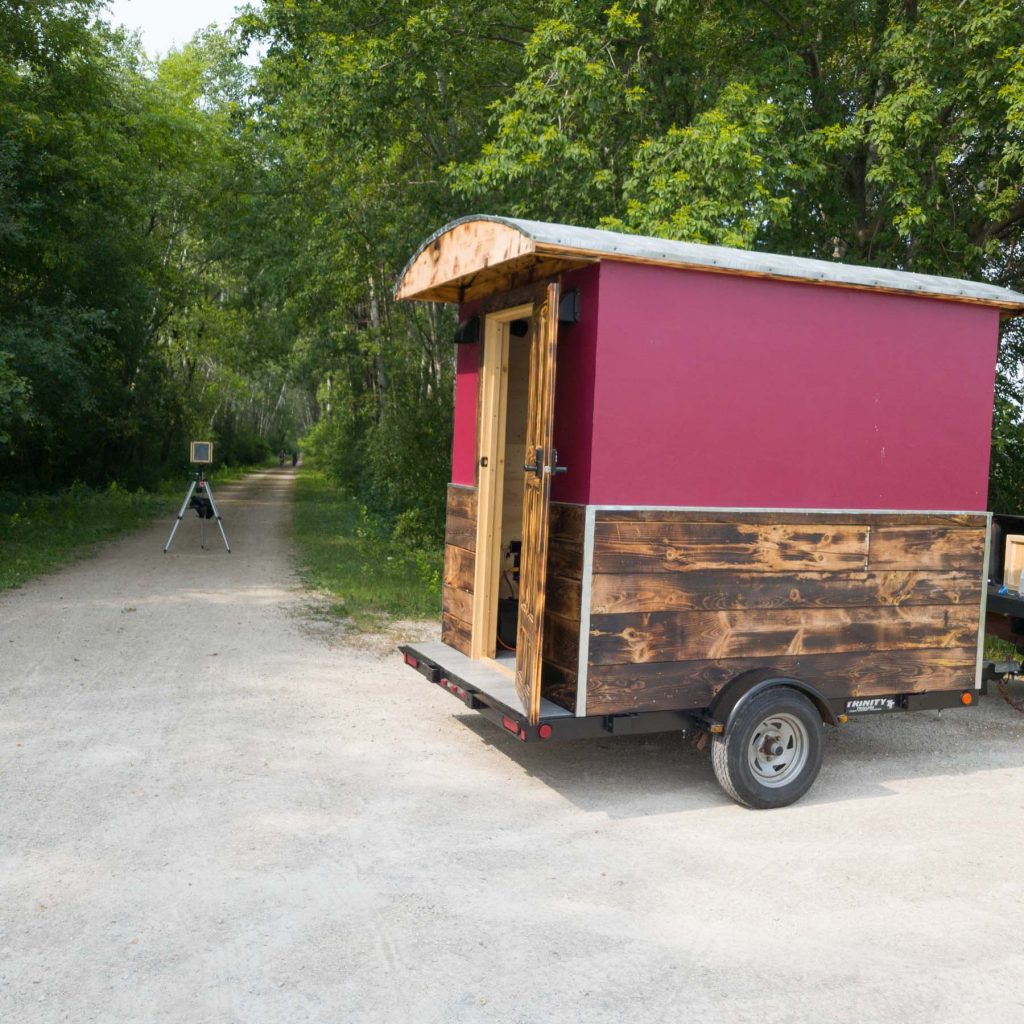
I almost forgot, after all that work, I also have to clean up and resupply my mobile darkroom!
You know, maybe I should raise my prices!!!
Back to My Blog
Related Posts