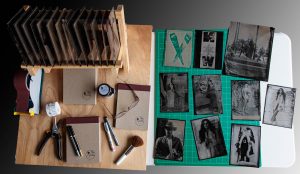
How Changing Light Impacts Wet Plate Collodion
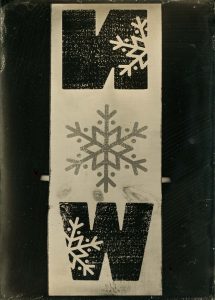
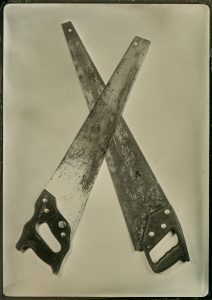
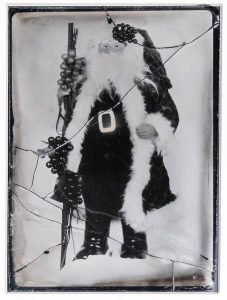
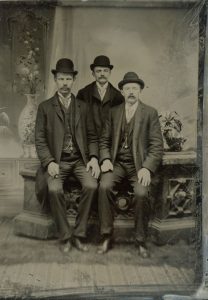
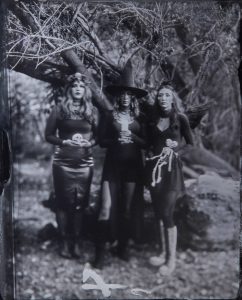
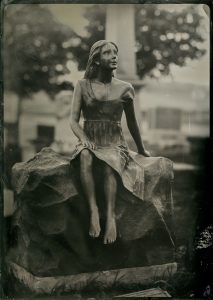
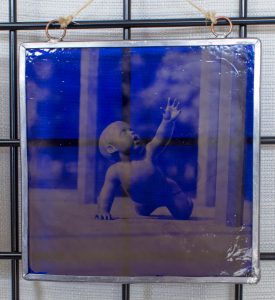
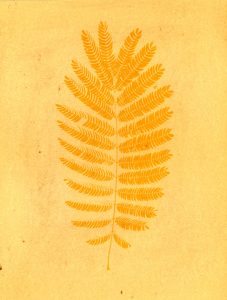
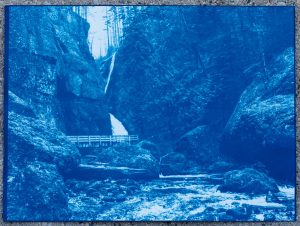
One of the most difficult aspects of 19th century photography is how changing light impacts wet plate collodion. The light sensitive silver in a wet plate "sees" light much differently than our eyes. Yellow and blue become white and shades of orange become black. Tattoos can completely disappear and eye glasses can look like sun glasses in the portrait. More modern cameras come equipped with sophisticated light meters. The light in the scene is measured when you take the photograph and the camera will adjust the exposure to get it right every time. But there is no exposure meter that…