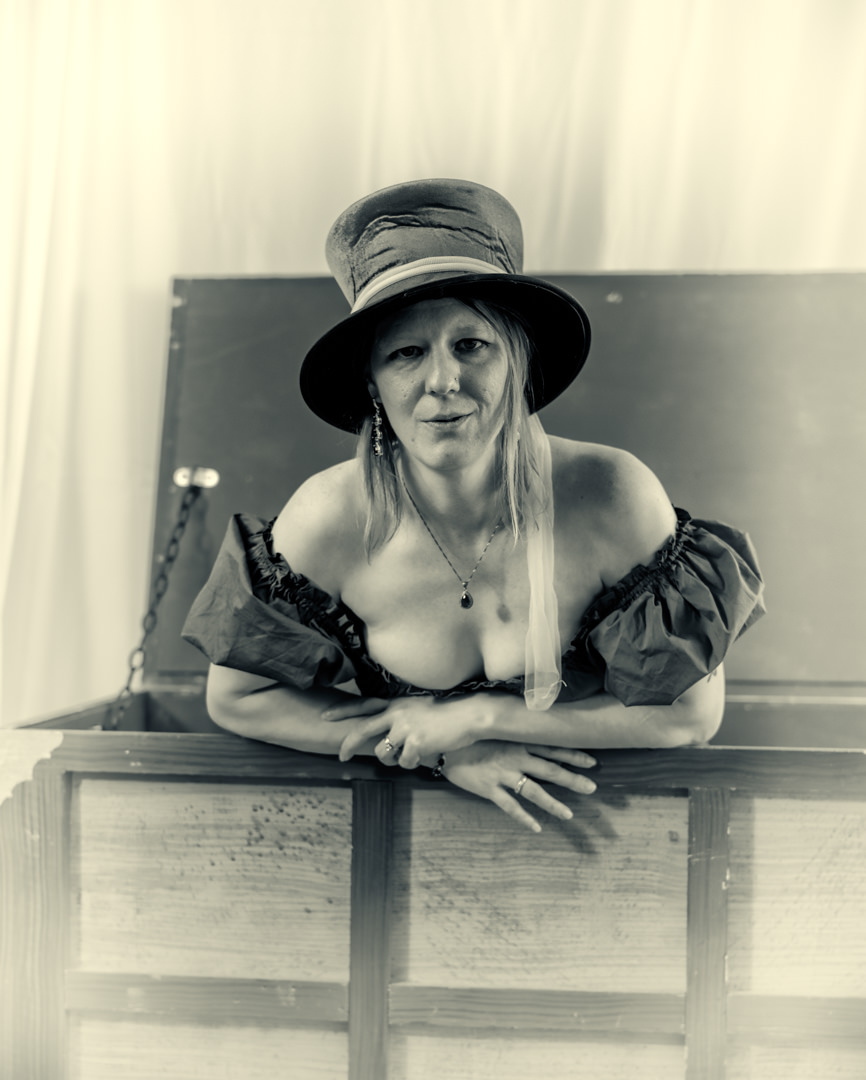
Awesome Little Immortalized Memory
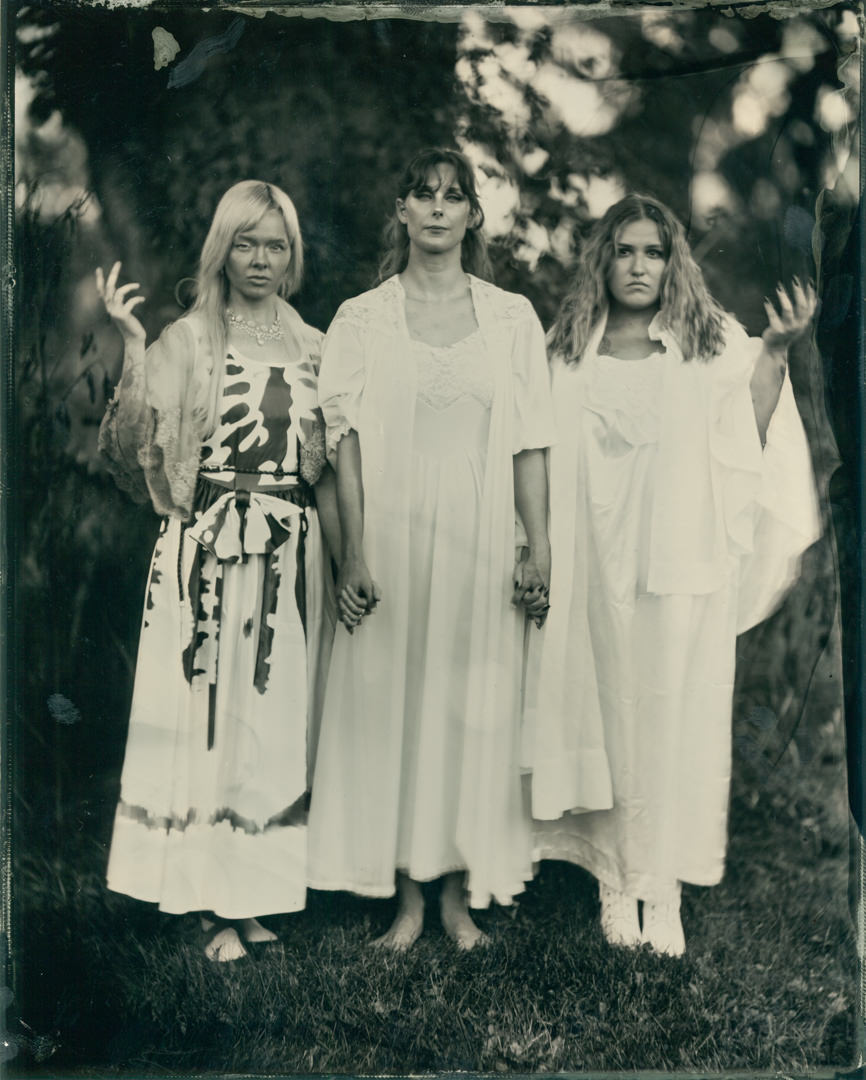
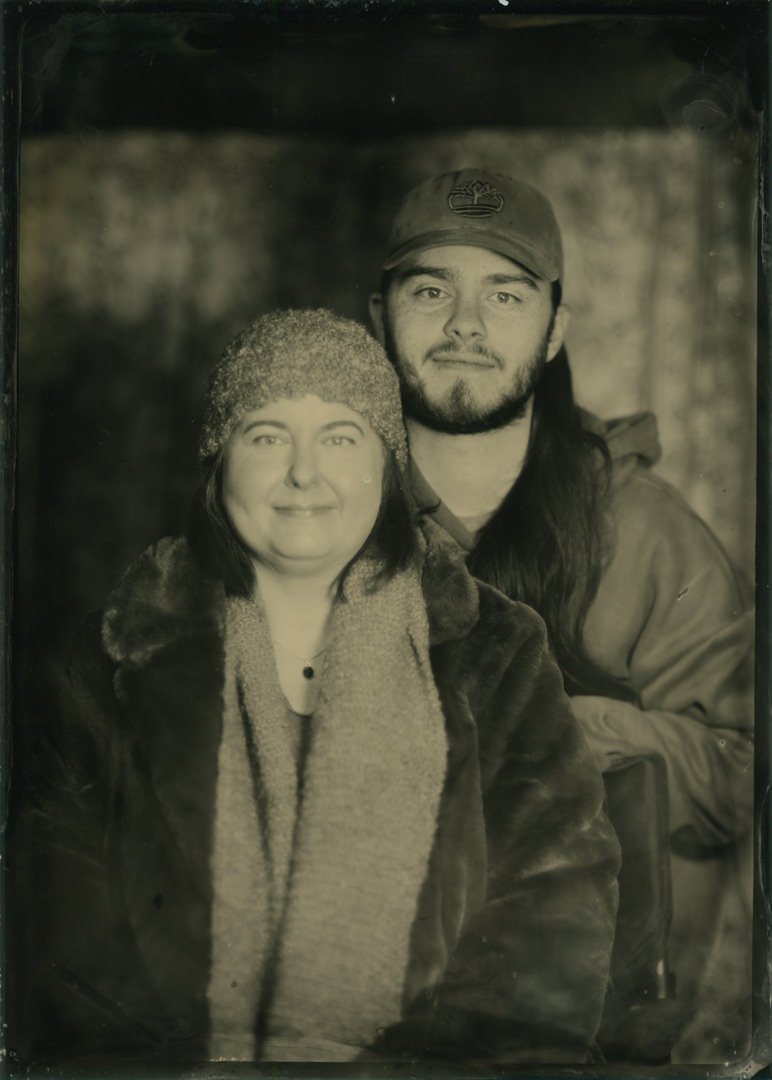
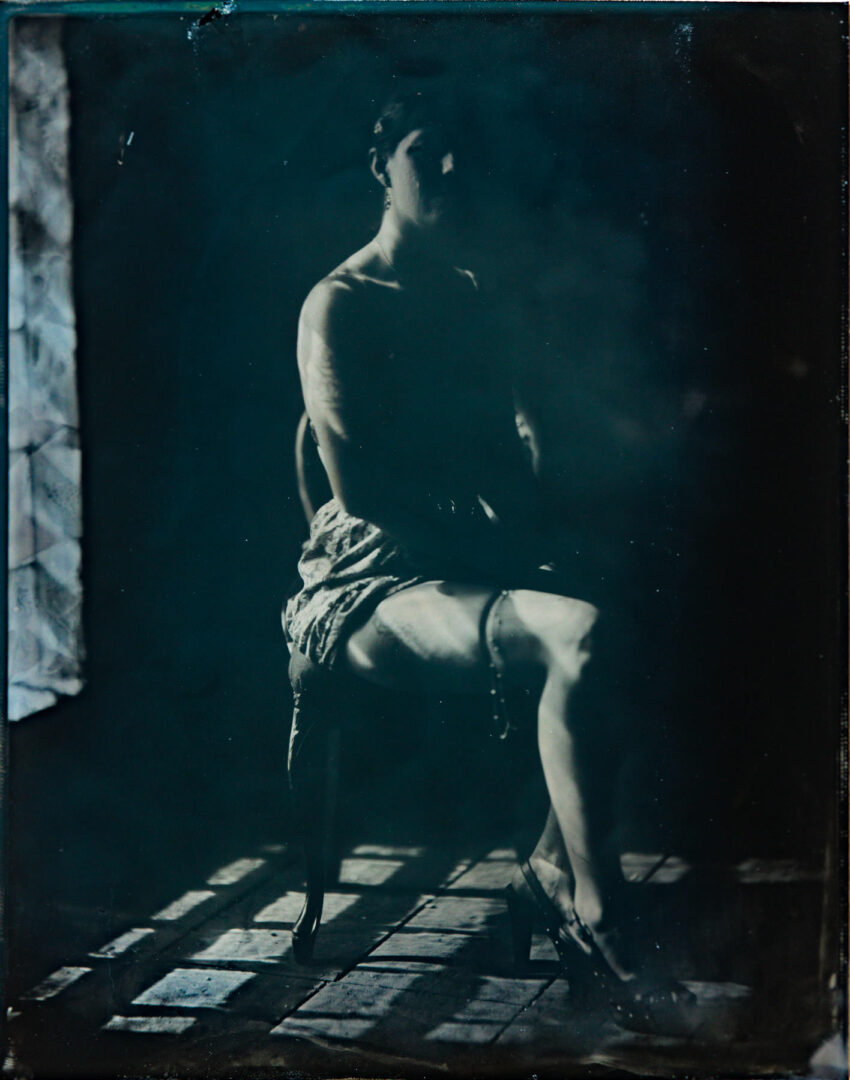
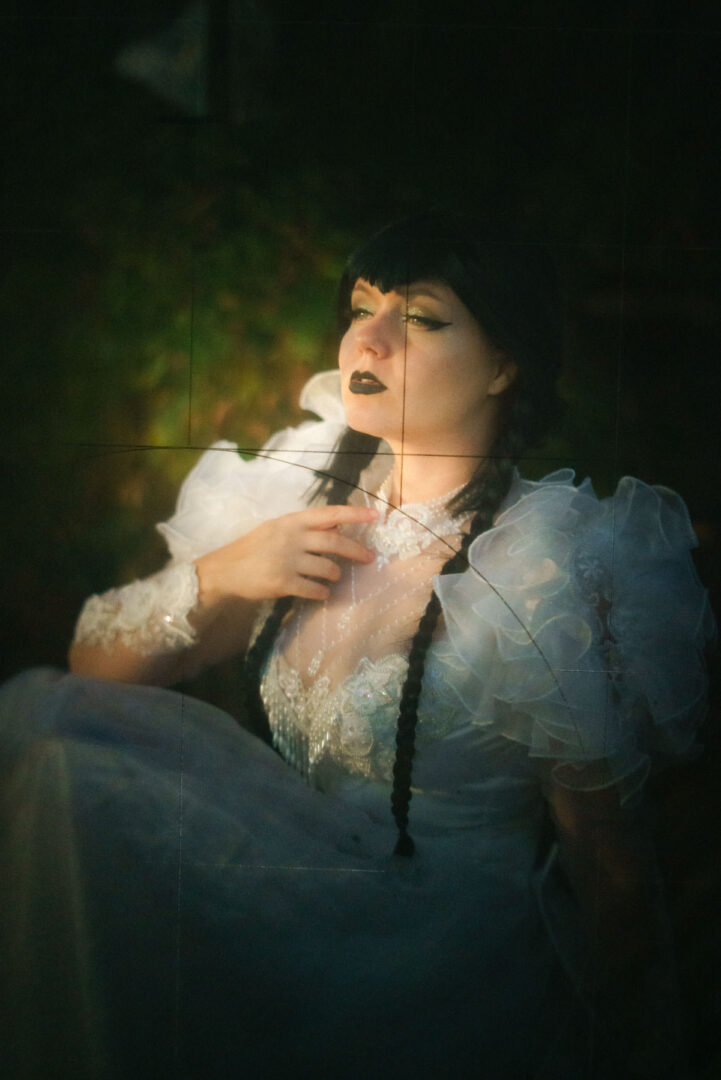
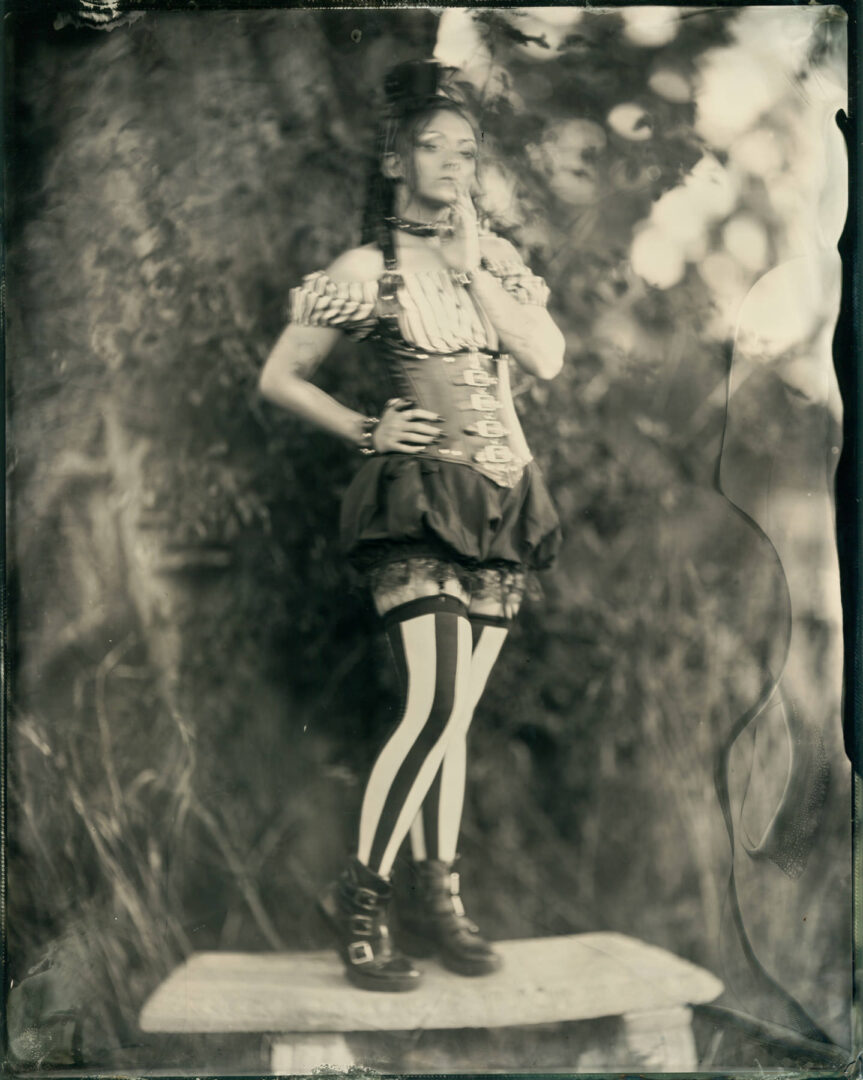
The life of a Victorian style photographer is not always easy. Each image requires so much gear and chemicals and preparation and time that you often wonder is it worth the trouble? With almost no effort I could just take a cell phone picture... But then a client comment reinforces everything you are doing and the world feels like Spring again. Last Fall we had the joy of creating Halloween tintypes with a group of models in Germantown / Milwaukee. The irrepressible Claire posed for the 8x10 plate below. It was near the end of the day and the sun…