My mobile darkroom build is going very well. The return of Winter weather had slowed things down but sometimes you just have to put your head down and keep on moving forward.
So why a trailer? Well, a lot of wet plate photographers use a dark box or small tent. These have the advantage of being portable but they suffer from not being very comfortable to work in. I like space when I am working! While the dark box can be visually pleasing tents are definitely ugly! I also wanted something that gives a sense of occasion to my outings. A trailer, as I conceive it will make people wonder “what is going on over there?” If done correctly, it will bring them in and maybe encourage them to join the party!
A note on my methods: I am borrowing a lot of the construction from how an RV or camper is built. Strong enough to withstand the elements and 75 MPH winds but still lightweight for towing. This means 2 inch thick walls and honeycomb construction. My build will not be as aerodynamic as most RV’s. I am going to compromise the slipstream to make it more aesthetically pleasing. I don’t plan on towing long distances so a little more wind resistance is not an issue – I hope!
After a lot of searching I found a suitable trailer. I wanted something a little wider but not too long. Also not too heavy as I would be pulling the thing around. I finally found a 5 1/2 x 9 foot trailer that was perfect!
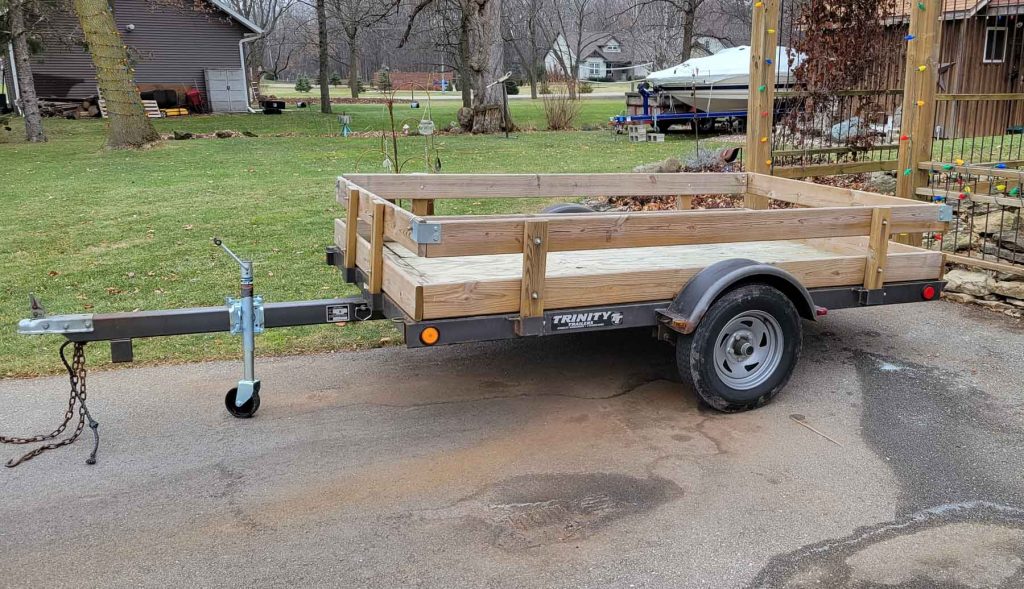
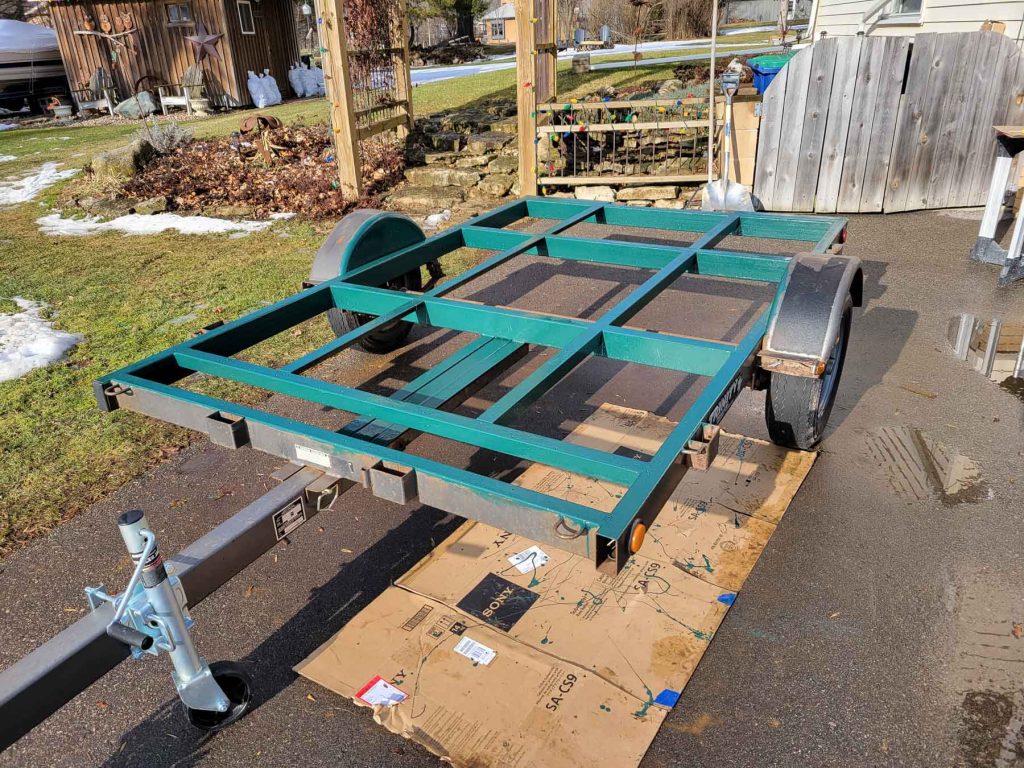
As you can see, I picked up the trailer on a beautiful Fall day with hopes of continued good weather. I stripped the trailer of the wood sides and old flooring. I cleaned up the frame and gave it a good coating paint. I also welded up the tilting mechanism so give the trailer more strength.
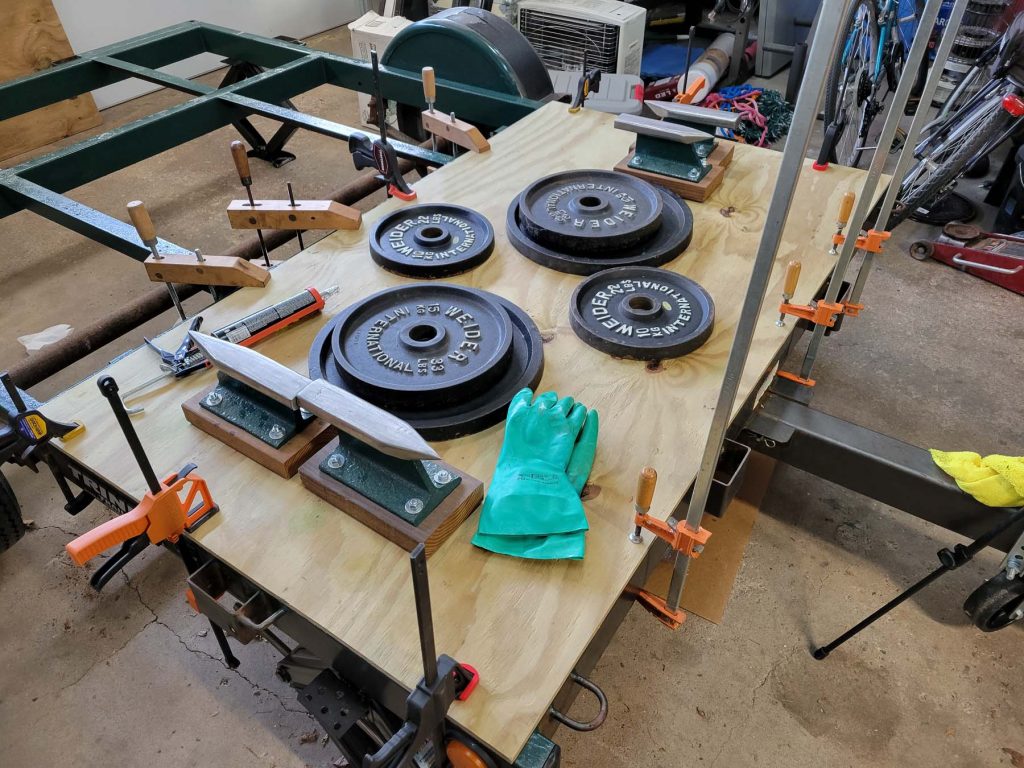
New plywood flooring was installed. I used ground contact treated plywood figuring this part could get wet. I glued the plywood to the frame rails to both hold it in place and to keep the floor from squeaking! Once the walls are in place the glue will be reinforced with bold on brackets. Here is a shot of glueing down the floor (I know that weight set would come in handy).
I prefabbed the walls in my garage and then added them onto the trailer. As you can see from the picture Winter has arrived! The walls 2 inches thick with a 1/4 inch plywood outer skin. I will add insulation later and some sort of interior finish (not decided on what just yet).
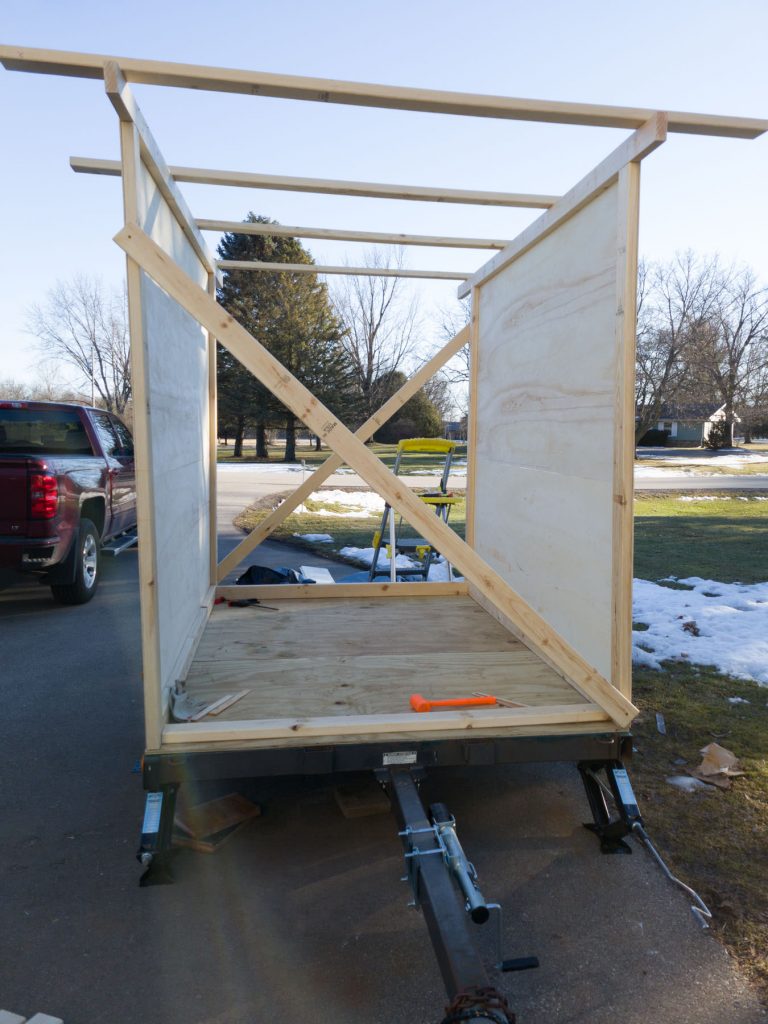
After the side walls, the front was added. This allowed me to square up the sides and give some dimensional stability to the structure. You can see from the picture above that the internal framing is not done yet. I am waiting until I pick up the windows to finish the framing. Insulation will be the last step.
Here is a photo of the 3 sided darkroom – starting to look like something now!
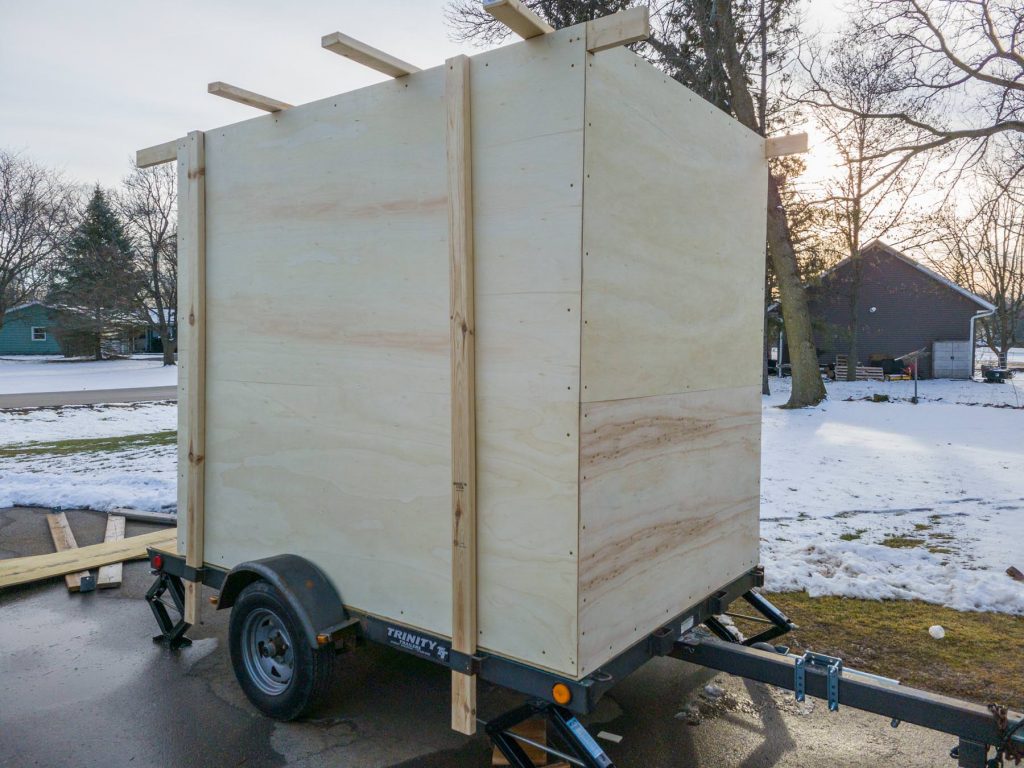
A note on the vertical 2×4’s on the outside. These are just for support and will be removed when all the walls on are and bolted down. You can also see my scissors jacks on the corners. I will use these when the trailer is parked to level everything and give some stability.
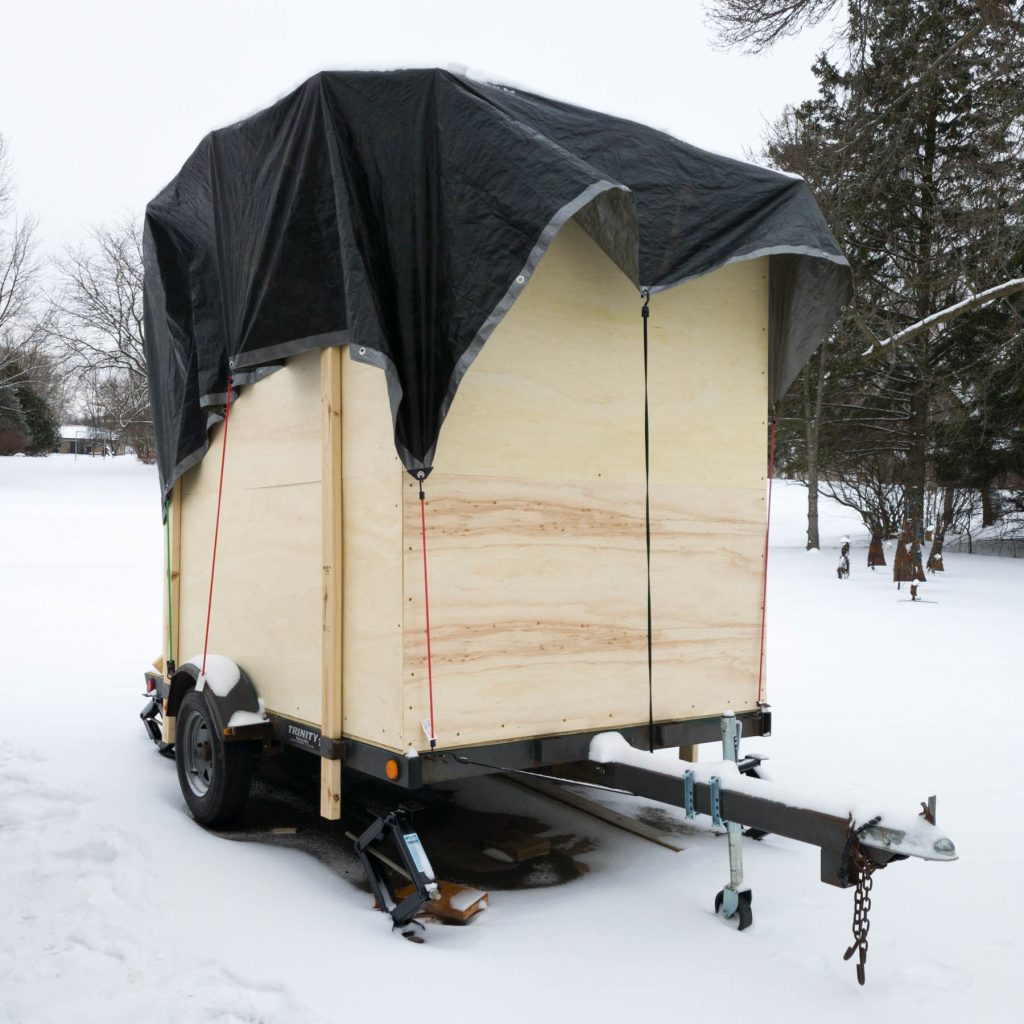
Good thing I got the walls up when I did because the last week has been nothing but snow, rain and sleet! But with some temporary roof joists and a big tarp my build survived the weather with no damage!
So what is next? I hope that the past week was “March coming in like a Lion” and the weather will moderate for construction. Windows and door will be next and then I can finish the framing and put on the roof. Then it’s just finishing work and installing the interior work and storage surfaces. My plan is to have everything done by the end of March to Mid April. Watch for more updates and a video of the build when everything is done!